
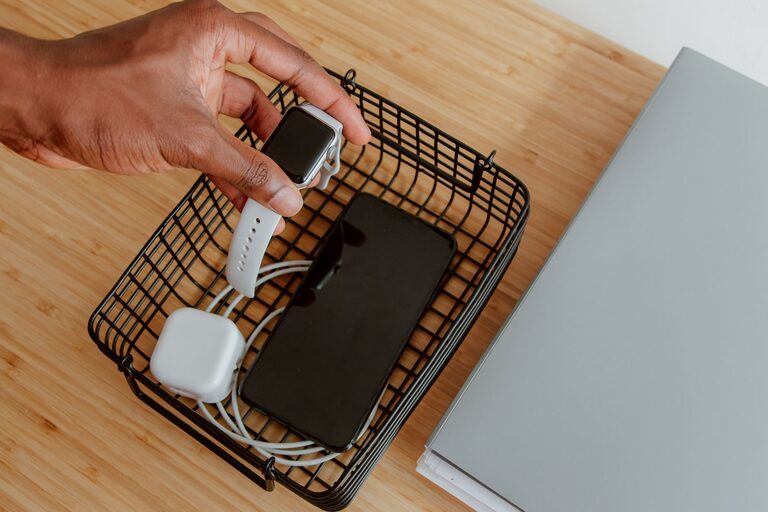
Setting up a dedicated charging station for your devices can simplify your daily routine and reduce clutter. With many gadgets needing regular power—smartphones, tablets, smartwatches, headphones, and more—a central spot to charge everything helps keep you organized and ensures devices are ready when you need them.
In this post, we’ll guide you through the steps to create a functional and neat charging station tailored to your needs.
Why Have a Charging Station?
Before diving into setup, let’s explore the benefits:
– Organization: No more tangled cords or searching around the house for chargers.
– Efficiency: Charge multiple devices at once without overloading outlets.
– Space Saving: Keep your counters or desks clear and tidy.
– Device Care: Properly store devices while charging, reducing accidental damage.
What You’ll Need
Here are some common items to prepare:
– A surface or container (desk, shelf, box, or drawer) to hold the station
– A power strip or multi-port USB charger
– Charging cables (USB-C, Lightning, micro-USB, etc.) for your devices
– Cable organizers (clips, ties, sleeves) to keep cords neat
– Optional accessories, such as labeling tags or stands for phones/tablets
Step 1: Choose the Location
Select a spot that is:
– Easily accessible for daily use
– Close to a power outlet
– Away from water or heat sources
– Large enough to fit your devices and chargers comfortably
Common locations include a desk, kitchen counter, nightstand, or a dedicated shelf.
Step 2: Pick Your Power Source
You’ll need a reliable power source that can handle multiple devices. Options include:
– Power Strip: Allows plugging in several chargers or adapters.
– Multi-Port USB Charger: Comes with multiple USB ports in one compact device, reducing the number of outlets used.
Look for chargers with safety certifications and enough power output (watts/amps) to charge all your devices efficiently.
Step 3: Organize Your Cables
Cable management helps prevent tangling and makes the station visually appealing:
– Use cable clips or adhesive holders to fix cords to the surface.
– Velcro ties or reusable cable wraps group excess cable length.
– Consider cable sleeves if multiple cords run in the same direction.
– Label each cable with device names for easy identification.
Step 4: Arrange Charging Stands or Holders
To keep devices upright and visible while charging:
– Use phone or tablet stands.
– Small containers or trays can hold devices safely.
– Vertical charging stations combine stands with charging ports for a compact solution.
This prevents devices from sliding off surfaces and reduces clutter.
Step 5: Set Up and Test
Once you have:
– Mounted the power strip or plugged in the multi-port charger
– Arranged cables neatly
– Positioned devices on stands or holders
Plug in all chargers and connect your devices. Check that everything charges properly and adjust cable lengths or positions as needed.
Tips for Maintenance and Safety
– Avoid overloading power outlets or strips.
– Unplug chargers when not in use to save energy.
– Periodically dust and wipe the station to keep it clean.
– Inspect cables for wear and replace damaged ones promptly.
– Keep liquids away from the charging area.
Bonus: Portable Charging Stations
If you travel often, consider a compact charging station you can pack easily. Look for foldable multi-port chargers or cases designed to store cables and adapters neatly.
—
Creating a charging station may take a little time initially, but the convenience it brings is worth it. Organized charging means less time searching, safer devices, and a tidier home or office space.
Start with a simple setup and customize it over time as your devices and needs change. Happy charging!